Hammond RT-3: The Heavyweight Champion

The Hammond RT-3: The Heavyweight Champion of the Tonewheel Era

In the golden age of the electric organ, the Hammond B-3 reigned supreme. It was the undisputed darling of jazz clubs, rock stages, and gospel churches, revered for its signature growl and percussive bite. Yet, while the B-3 was busy conquering popular music in the mid-1950s, the Hammond Organ Company was fighting a quieter, much more difficult battle on a different front: the traditional church and concert hall.

Traditionalists, particularly those adhering to the strict standards of the American Guild of Organists (AGO), viewed early Hammond tonewheel organs with deep skepticism. The standard flat, 25-note pedalboard of a B-3 was vastly different from the sweeping, concave layouts of traditional pipe organs. Furthermore, the standard tonewheel generator simply could not move enough air to replicate the thundering, floor-shaking bass of a 32-foot pipe.

To bridge this gap and capture the lucrative institutional market, Hammond engineered a massive, dual-identity instrument. When they added their famous touch-response percussion to this line in 1955, the legendary Hammond RT-3 was born.

A Tale of Two Organs

Often referred to by Hammond enthusiasts as the “end boss” of tonewheel organs, the RT-3 was essentially two distinct instruments housed within one sprawling, heavyweight cabinet.


From the bench up, it was a pure, unadulterated B-3. It featured the exact same internal components that made the B-3 famous: the mechanical scanner vibrato, the smooth waterfall keys, the complex drawbar registration, and the iconic tonewheel generator. Played through a rotating Leslie speaker, the upper manuals of an RT-3 could scream, spit, and wail with the best rock and jazz instruments of the era.

Below the bench, however, it was an entirely different beast.

The AGO Pedalboard and the “Solo” Tube Generator

To satisfy the classical purists, Hammond abandoned the flat pedalboard and equipped the RT-3 with a massive, 32-note radial, concave pedalboard built to exact AGO specifications. This allowed classically trained organists to sit at the instrument and immediately execute complex pedal literature without altering their muscle memory or technique.

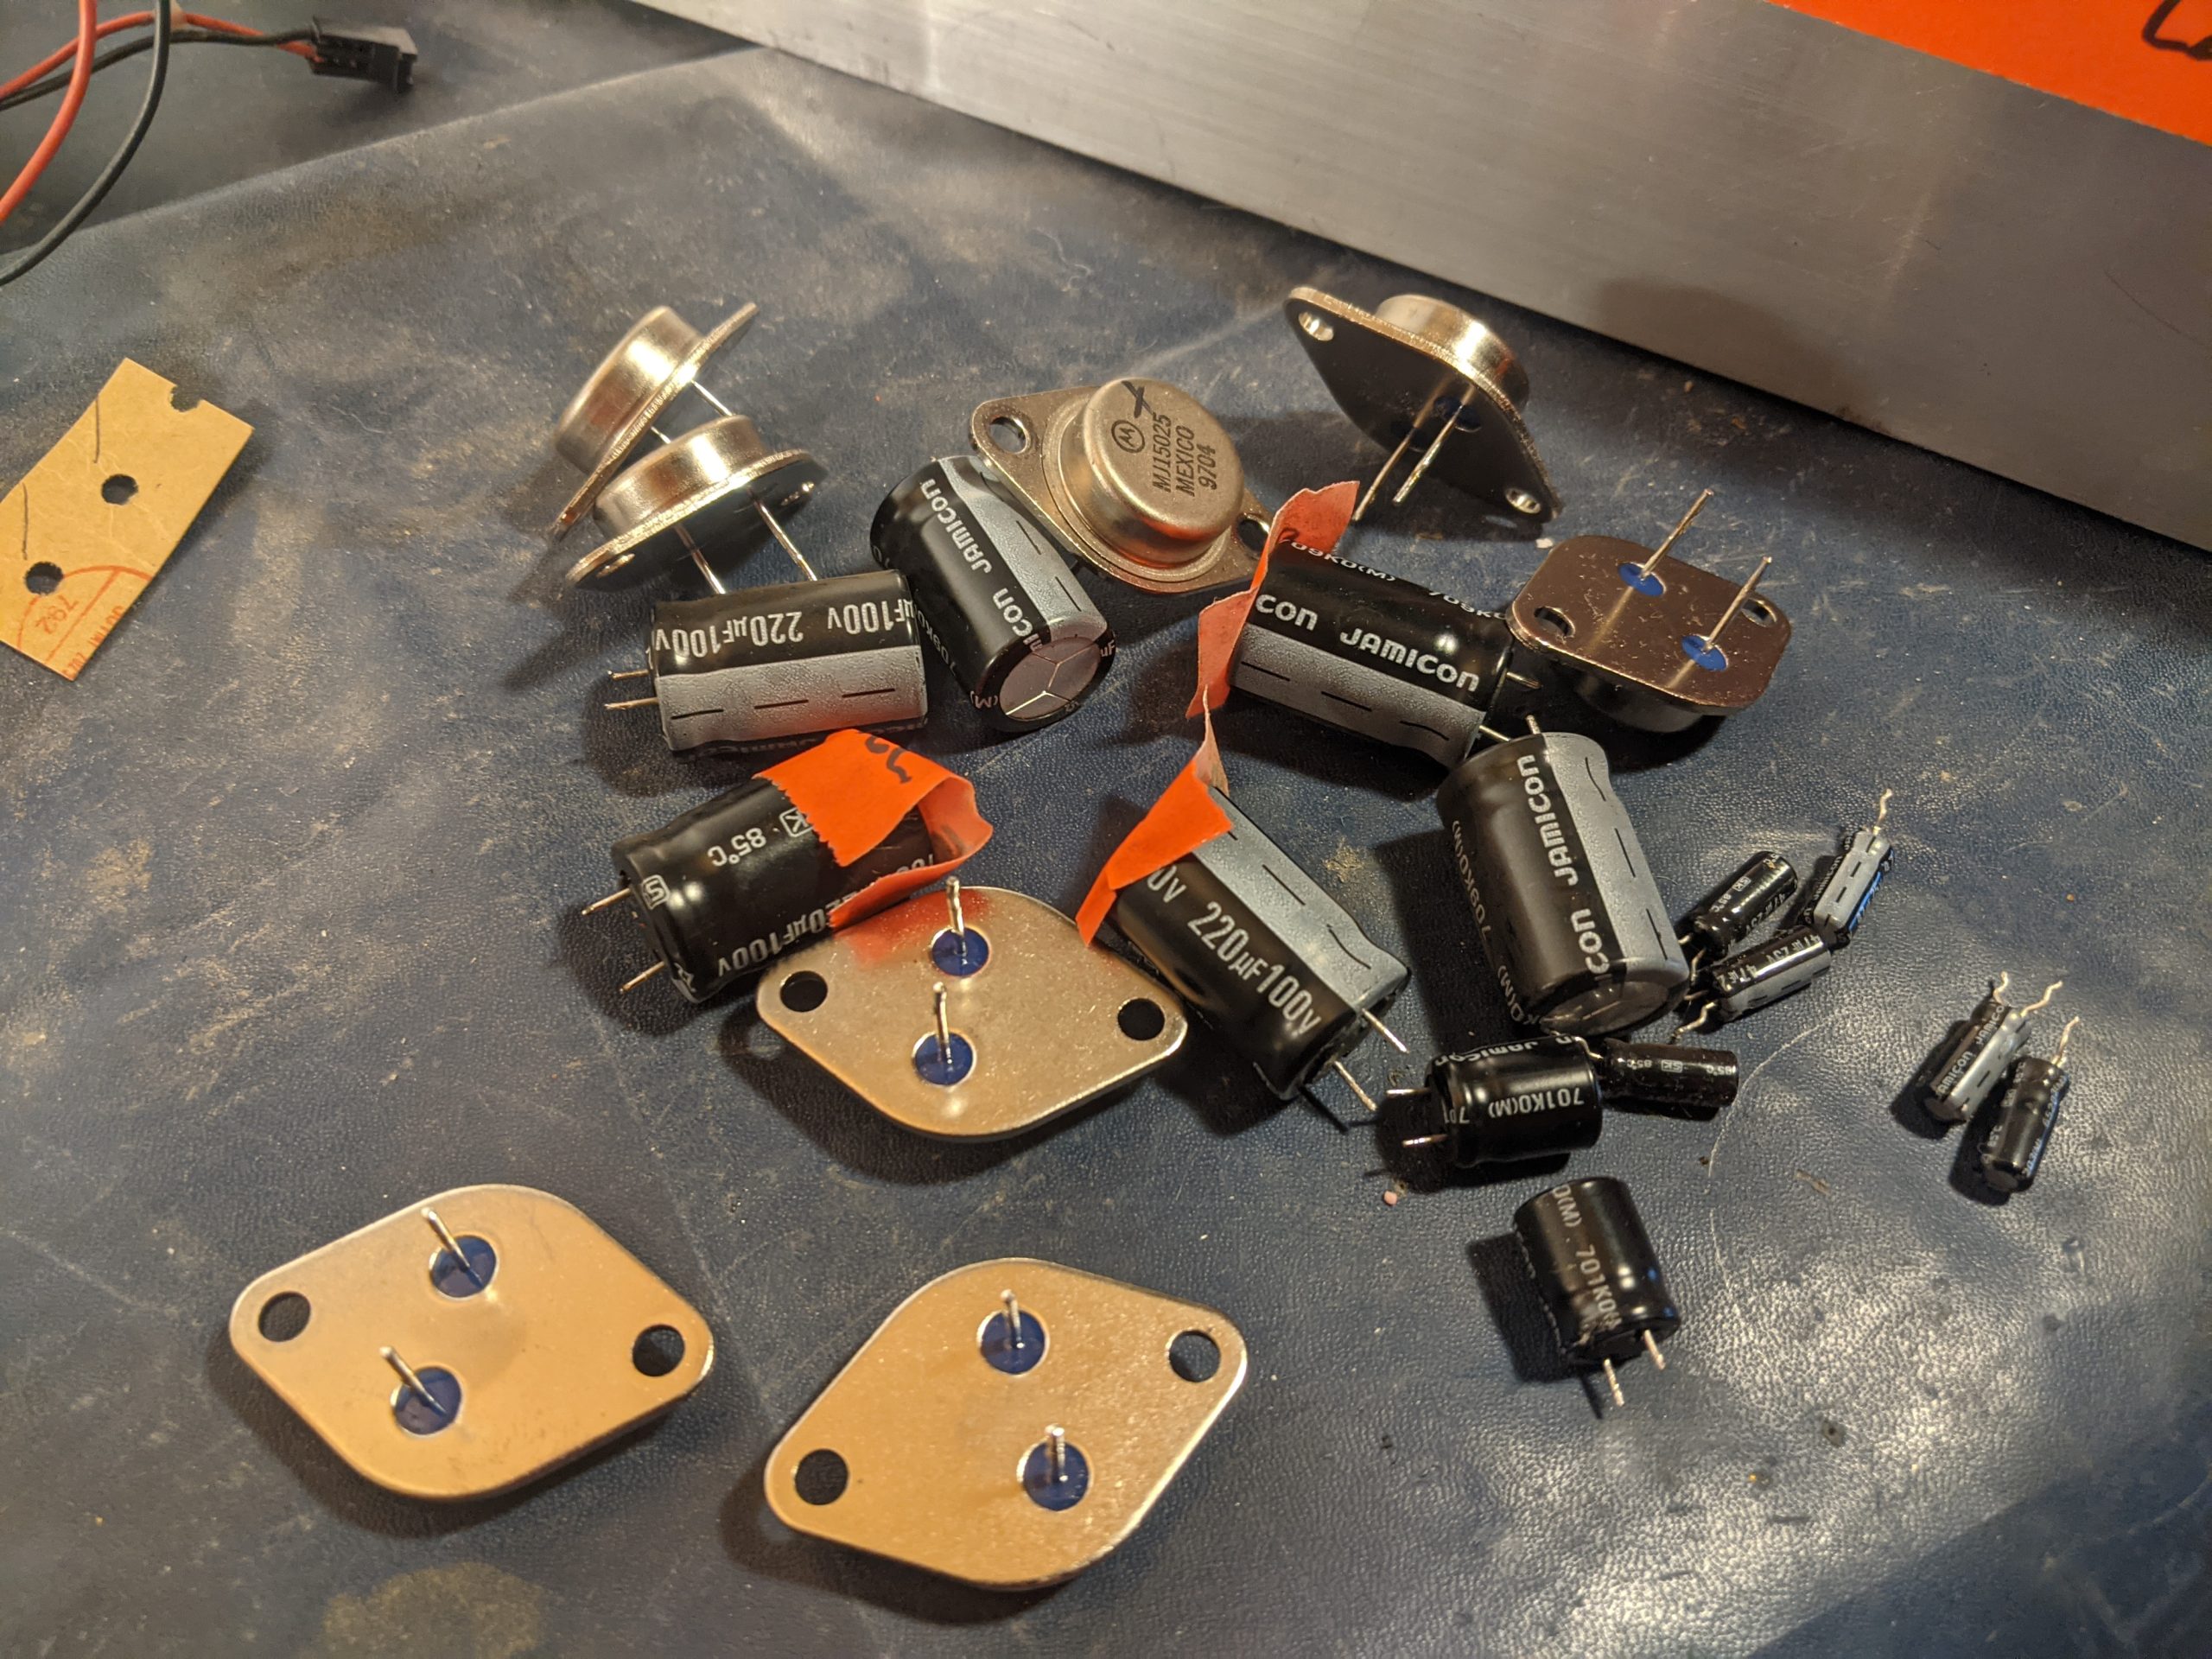
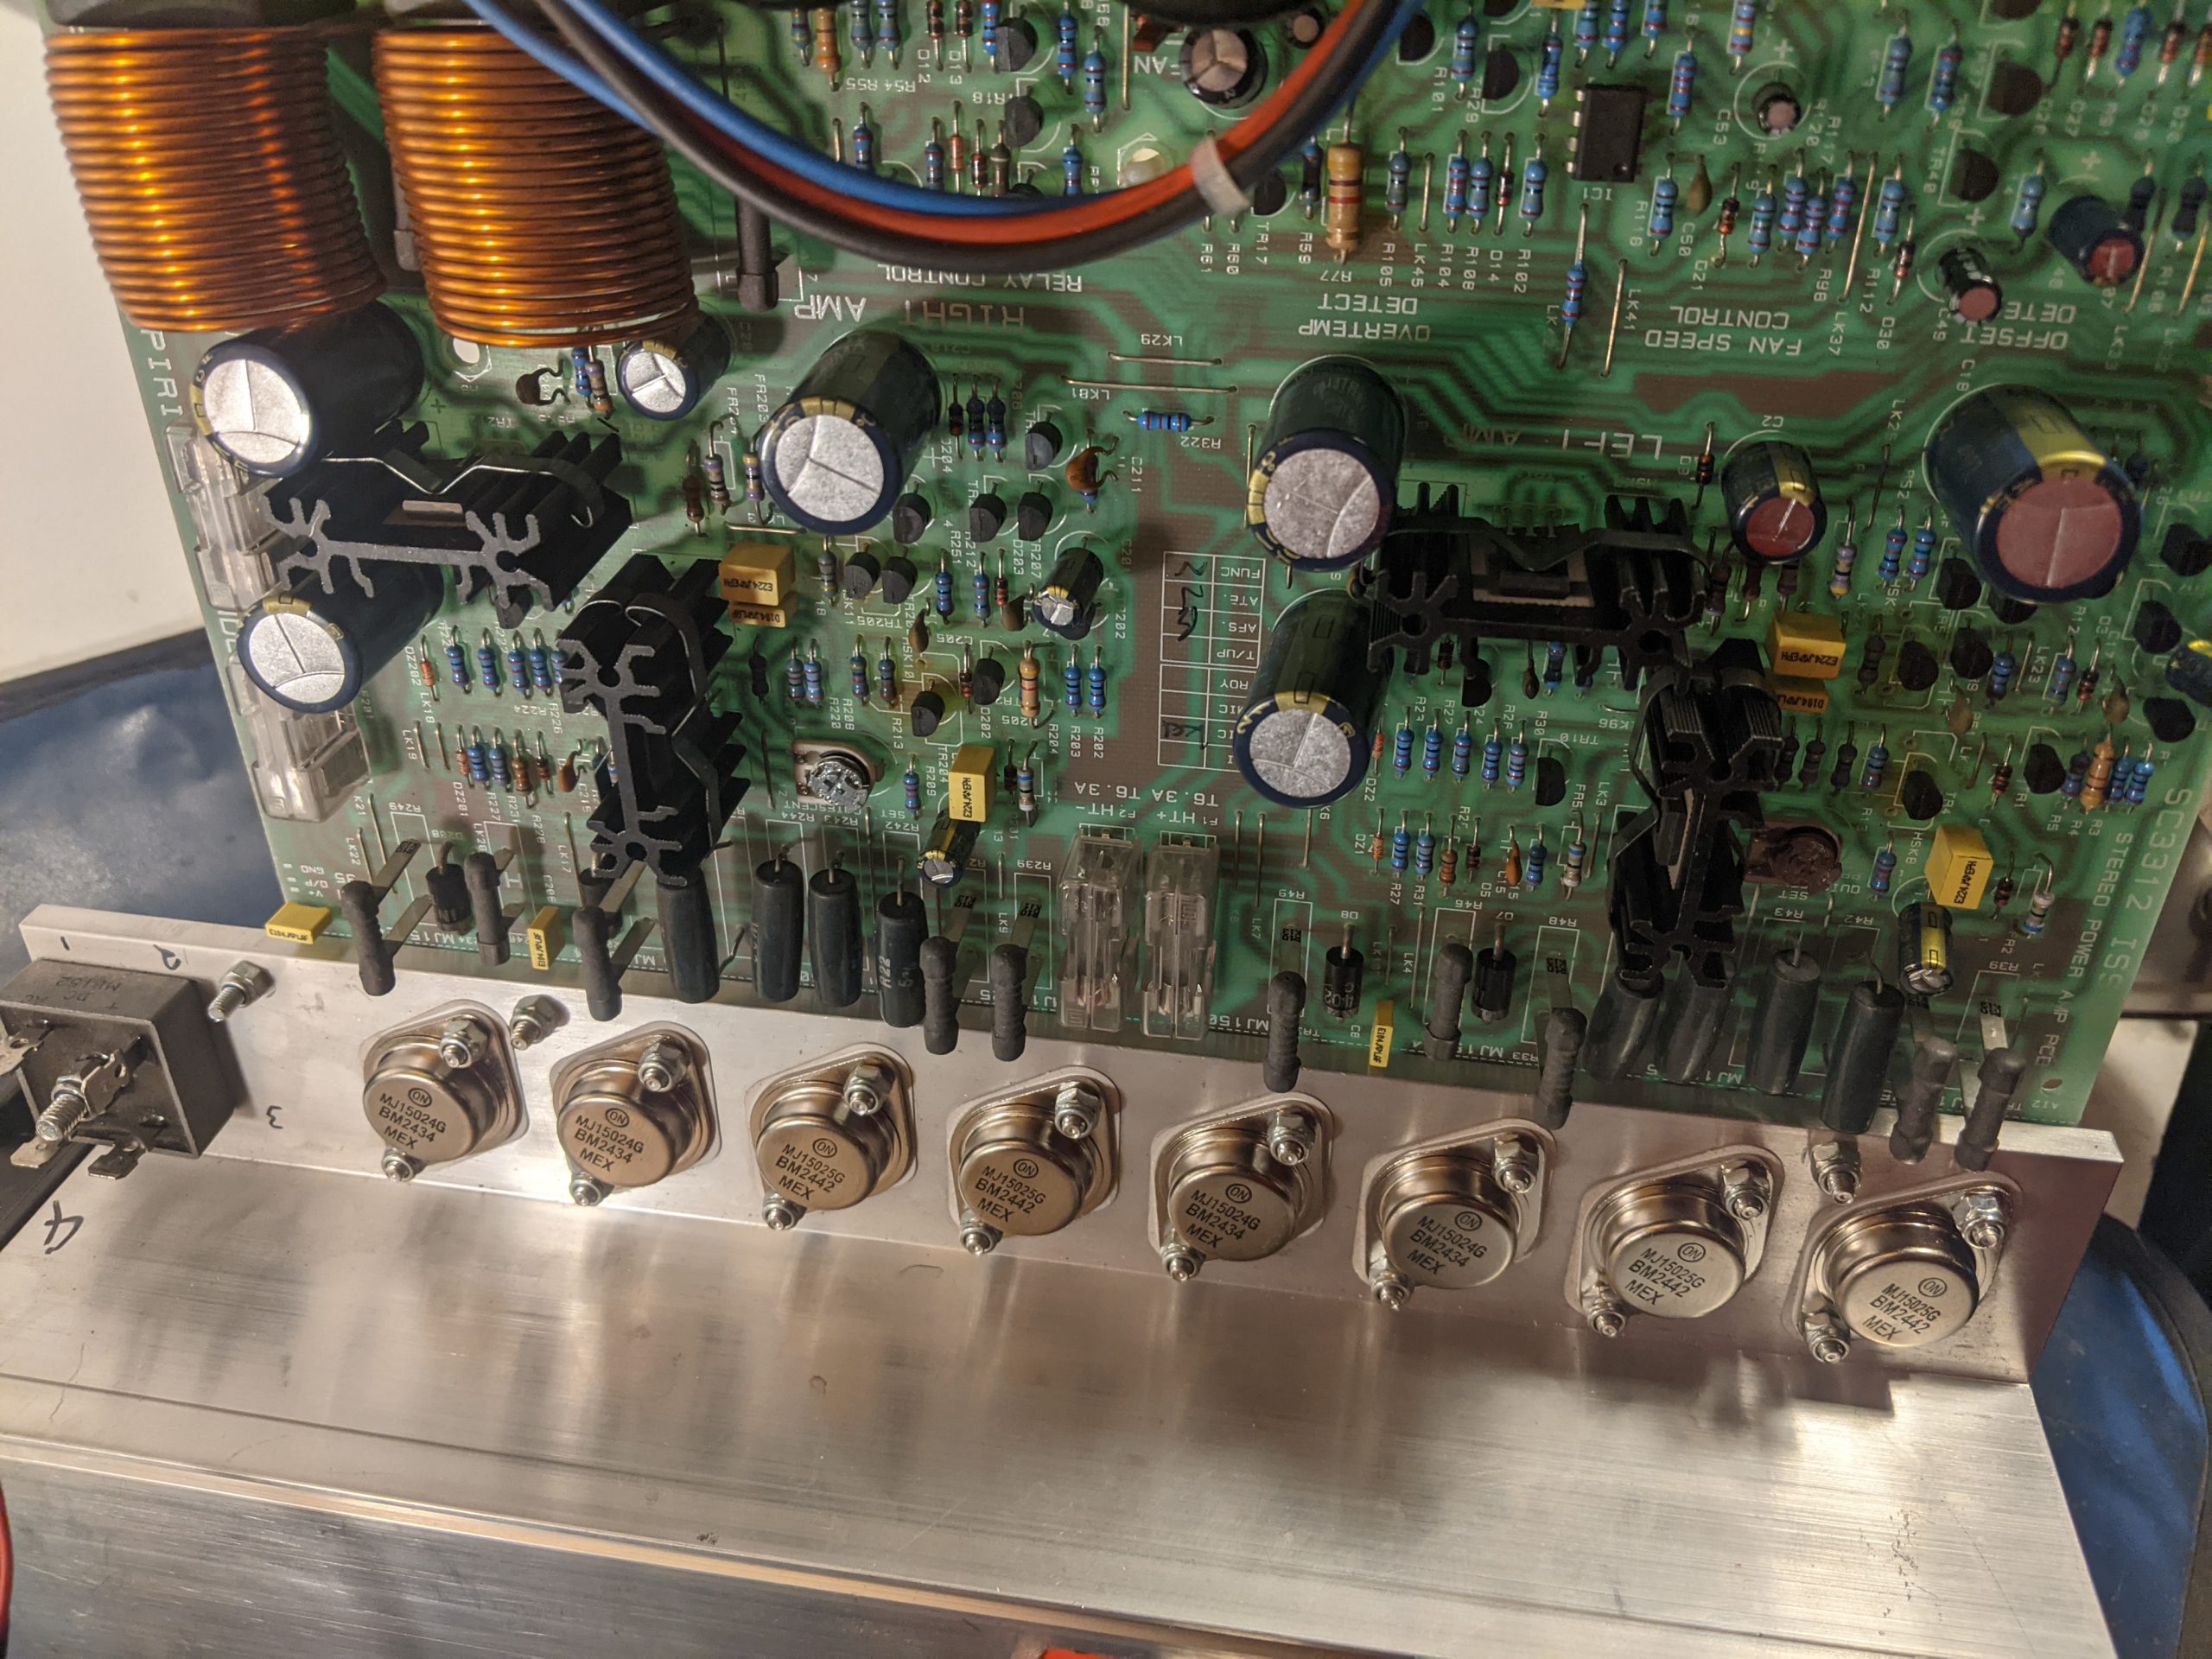
But the true magic of the RT-3 lay in how those pedals generated sound. Recognizing the limitations of tonewheels for deep bass, Hammond installed a completely independent, monophonic vacuum-tube tone generator strictly dedicated to the pedalboard. This “Solo Pedal” system featured its own dedicated volume control and a unique set of stops, ranging from 1- and 2-foot pitches all the way down to a massive, sub-harmonic 32-foot pitch.

This hybrid approach gave the RT-3 unprecedented versatility. An organist could dial in a traditional, percussive jazz tone on the upper manuals while simultaneously laying down incredibly deep, rich, and complex bass lines beneath their feet—a feat a standard B-3 could simply never replicate.

The Weight of History

Produced from 1955 until the end of the tonewheel era in 1973, the RT-3 was an engineering triumph. Yet, today, it lives largely in the shadow of its smaller sibling.

The very features that made the RT-3 a concert powerhouse also made it a logistical nightmare. The cabinet was significantly wider and deeper than a standard Hammond, and the enormous 32-note pedalboard was cumbersome to transport. As a result, the RT-3 rarely made it onto touring stages with rock bands, remaining firmly anchored in recording studios, large churches, and the living rooms of dedicated enthusiasts.

Today, the Hammond RT-3 remains a hidden gem of music history. For studio musicians and purists who have the space to accommodate its massive footprint, it is widely considered the ultimate tonewheel organ—a towering monument to an era when Hammond sought to conquer every corner of the musical world.

Drum kit desk

Merging a professional workspace with an electronic kit like your Alesis Nitro Max is the ultimate space-saving play, Anthony. By treating the desk frame as your drum rack, you can shift from “deep work” to “deep grooves” without ever leaving your seat.

Here is how to re-engineer that Alesis setup into a “Drum-Desk” hybrid.

1. The Core Foundation: Height & Footing

The primary challenge of a hybrid station is vertical clearance.

* The Desk: You almost certainly need an adjustable-height standing desk. A standard fixed desk (typically 29 inches) is too low to accommodate the upward travel of your knees while playing the kick and hi-hat pedals. You’ll want to raise it to “drumming height” to clear your sticks and lower it for “typing height.”

* The Seat: Swap the office chair for a high-quality drum throne. While it lacks a backrest for long-term lumbar support, it provides 360-degree mobility and—crucially—won’t roll away when you bury the beater into the kick pedal.

2. Component Placement: The “Wrap-Around” Strategy

To keep the workspace functional, the drum components must integrate into the desk’s footprint rather than fight it.

The “Under-Desk” Zone (Kick & Snare)

* Kick Pedal: Position the kick pad/trigger directly against a wall or a heavy desk leg to prevent “creep” during play.

* Snare Drum: This is the trickiest piece. Use a dedicated snare stand set to its lowest position. When working, it sits between your knees; when drumming, slide your keyboard back to clear “stick room” for rimshots.

The “Desktop” Zone (Toms & Hi-Hat)

* Hi-Hat: Position the Alesis hat pad to the left of your laptop. If you use a stand-alone hi-hat stand, place it just outside the desk’s left leg.

* Toms: Instead of using the bulky Alesis rack, use multiclamps. You can clamp the four tom pads directly to the desk edges or even to your monitor arms to keep the desk surface clear.

* High Toms: Flank your center monitor.

* Floor Toms: Clamp these to the right side of the desk, near your mouse area.

The “Aerial” Zone (Cymbals)

* Ride & Crashes: Use long cymbal boom arms clamped to the back of the desk or your monitor pole. This keeps the “swing” area of the cymbals above your three monitors so they don’t obstruct your view while you’re working.

3. Tech Integration & Cable Management

Since you’re running three monitors and a laptop, your “brain” (the Nitro Max module) should act as the audio bridge.

* Audio Routing: Connect the Module Out to your computer’s audio interface. This allows you to hear your drums through your studio monitors or workspace headset while simultaneously playing along to Spotify or YouTube lessons on your screens.

* Cable Management: This is critical. Use Velcro ties to run all trigger cables along the underside of the desk frame. A “rat’s nest” of cables near your feet will interfere with your pedal work and ruin the clean aesthetic of your office.

Hybrid Layout Summary

| Component | Placement Strategy |

|—|—|

| Snare | Centered, low-profile stand between the legs. |

| Kick | Floor level, braced against a desk leg. |

| Hi-Hat | Left side, clear of the laptop/outer monitor. |

| Toms | Clamped to desk edges or monitor poles. |

| Cymbals | Boom arms extending from the back of the desk. |

| Module | Mounted under the desk surface for easy “blind” reach. |


Rust Headless 96kHz Audio Console

Architecting a Scalable, Headless Audio Console in Rust

In the world of professional audio—spanning broadcast, cinema, and large-scale live events—the mixing console is the heart of the operation. Traditionally, these have been massive hardware monoliths. Today, however, the industry is shifting toward headless, scalable audio engines that run on standard server hardware, controlled remotely by software endpoints.

This article proposes the architecture for Titan-96k, a scalable, 32-bit floating-point audio mixing engine written in Rust. It is designed to handle everything from a simple podcast setup to complex 7.1.4 immersive audio workflows, controlled entirely via MQTT.

Continue reading

The Mixer, My Grandfather, and the Looming Crisis of Unfixable Electronics

💡 The Mixer, My Grandfather, and the Looming Crisis of Unfixable Electronics

My weekend project—a powered mixer for a friend—was a powerful, hands-on lesson in the changing nature of electronics and the fight for the Right to Repair.

For a friend, I made an exception to my usual “no bench work” rule. The diagnosis was classic: a blown channel, likely from speakers incorrectly wired in parallel. Instead of a minimal patch job, I opted for a full refurbishment, the way I was taught: new, high-quality Panasonic FC caps and fresh, matched transistors. A labour of love, not profit. Continue reading

Empowering the user

Empowering the User: The Boeing vs. Airbus Philosophy in Software and Control System Design

In the world of aviation, the stark philosophical differences between Boeing and Airbus control systems offer a profound case study for user experience (UX) design in software and control systems. It’s a debate between tools that empower the user with ultimate control and intelligent assistance versus those that abstract away complexity and enforce protective boundaries. This fundamental tension – enabling vs. doing – is critical for any designer aiming to create intuitive, effective, and ultimately trusted systems.

The Core Dichotomy: Enablement vs. Automation

At the heart of the aviation analogy is the distinction between systems designed to enable a highly skilled user to perform their task with enhanced precision and safety, and systems designed to automate tasks, protecting the user from potential errors even if it means ceding some control.

Airbus: The “Doing It For You” Approach

Imagine a powerful, intelligent assistant that anticipates your needs and proactively prevents you from making mistakes. This is the essence of the Airbus philosophy, particularly in its “Normal Law” flight controls.

The Experience: The pilot provides high-level commands via a side-stick, and the computer translates these into safe, optimized control surface movements, continuously auto-trimming the aircraft.

The UX Takeaway:

Pros: Reduces workload, enforces safety limits, creates a consistent and predictable experience across the fleet, and can be highly efficient in routine operations. For novice users or high-stress environments, this can significantly lower the barrier to entry and reduce the cognitive load.

Cons: Can lead to a feeling of disconnect from the underlying mechanics. When something unexpected happens, the user might struggle to understand why the system is behaving a certain way or how to override its protective actions. The “unlinked” side-sticks can also create ambiguity in multi-user scenarios.

Software Analogy: Think of an advanced AI writing assistant that not only corrects grammar but also rewrites sentences for clarity, ensures brand voice consistency, and prevents you from using problematic phrases – even if you intended to use them for a specific effect. It’s safe, but less expressive. Or a “smart home” system that overrides your thermostat settings based on learned patterns, even when you want something different.

Boeing: The “Enabling You to Do It” Approach

Now, consider a sophisticated set of tools that amplify your skills, provide real-time feedback, and error-check your inputs, but always leave the final decision and physical control in your hands. This mirrors the Boeing philosophy.

The Experience: Pilots manipulate a traditional, linked yoke. While fly-by-wire technology filters and optimizes inputs, the system generally expects the pilot to manage trim and provides “soft limits” that can be overridden with sufficient force. The system assists, but the pilot remains the ultimate authority.

The UX Takeaway:

Pros: Fosters a sense of control and mastery, provides direct feedback through linked controls, allows for intuitive overrides in emergencies, and maintains the mental model of direct interaction. For expert users, this can lead to greater flexibility and a deeper understanding of the system’s behavior.

Cons: Can have a steeper learning curve, requires more active pilot management (e.g., trimming), and places a greater burden of responsibility on the user to stay within safe operating limits.

Software Analogy: This is like a professional photo editing suite where you have granular control over every aspect of an image. The software offers powerful filters and intelligent adjustments, but you’re always the one making the brush strokes, adjusting sliders, and approving changes. Or a sophisticated IDE (Integrated Development Environment) for a programmer: it offers powerful auto-completion, syntax highlighting, and debugging tools, but doesn’t write the code for you or prevent you from making a logical error, allowing you to innovate.

Designing for Trust: Error Checking Without Taking Over

The crucial design principle emerging from this comparison is the need for systems that provide robust error checking and intelligent assistance while preserving the user’s ultimate agency. The goal should be to create “smart tools,” not “autonomous overlords.”

Key Design Principles for Empowerment:

Transparency and Feedback: Users need to understand what the system is doing and why. Linked yokes provide immediate physical feedback. In software, this translates to clear status indicators, activity logs, and explanations for automated actions. If an AI suggests a change, explain its reasoning.

Soft Limits, Not Hard Gates: While safety is paramount, consider whether a protective measure should be an absolute barrier or a strong suggestion that can be bypassed in exceptional circumstances. Boeing’s “soft limits” allow pilots to exert authority when necessary. In software, this might mean warning messages instead of outright prevention, or giving the user an “override” option with appropriate warnings.

Configurability and Customization: Allow users to adjust the level of automation and assistance. Some users prefer more guidance, others more control. Provide options to switch between different “control laws” or modes that align with their skill level and current task.

Preserve Mental Models: Whenever possible, build upon existing mental models. Boeing’s yoke retains a traditional feel. In software, this means using familiar metaphors, consistent UI patterns, and avoiding overly abstract interfaces that require relearning fundamental interactions.

Enable, Don’t Replace: The most powerful tools don’t do the job for the user; they enable the user to do the job better, faster, and more safely. They act as extensions of the user’s capabilities, not substitutes.

The Future of UX: A Hybrid Approach

Ultimately, neither pure “Airbus” nor pure “Boeing” is universally superior. The ideal UX often lies in a hybrid approach, intelligently blending the strengths of both philosophies. For routine tasks, automation and protective limits are incredibly valuable. But when the unexpected happens, or when creativity and nuanced judgment are required, the system must gracefully step back and empower the human creator.

Designers must constantly ask: “Is this tool serving the user’s intent, or is it dictating it?” By prioritizing transparency, configurable assistance, and the user’s ultimate authority, we can build software and control systems that earn trust, foster mastery, and truly empower those who use them.

The Redder, The Better 🚦

The Redder, The Better – A phrase used in audio engineering to describe how an audio signal is often considered optimal when the volume unit (VU) meter or LED peak meter enters the red zone. This indicates a strong signal level, improving the signal-to-noise ratio (SNR) by ensuring the desired audio remains well above the noise floor. In analog systems, slight red-zone peaks can add warmth and presence, while in digital systems, red peaks indicate maximum headroom before potential distortion or clipping. 🚦


Python OSC device – Motarized fader for volume + mute switch and solo switch

import reapy
import OSC

# Create an OSC client to send messages to Reaper
client = OSC.OSCClient()
client.connect(("127.0.0.1", 8000))

# Create an OSC server to receive messages from the fader and switches
server = OSC.OSCServer(("127.0.0.1", 9000))

def handle_volume(path, tags, args, source):
volume = args[0]
# Set the volume of the track using the Reaper API
reapy.connect()
track = reapy.Track(1)
track.volume = volume
reapy.disconnect()

# Add a callback for the volume fader
server.addMsgHandler("/volume", handle_volume)

def handle_mute(path, tags, args, source):
mute = args[0]
# Set the mute of the track using the Reaper API
reapy.connect()
track = reapy.Track(1)
track.mute = mute
reapy.disconnect()

# Add a callback for the mute switch
server.addMsgHandler("/mute", handle_mute)

def handle_solo(path, tags, args, source):
solo = args[0]
# Set the solo of the track using the Reaper API
reapy.connect()
track = reapy.Track(1)
track.solo = solo
reapy.disconnect()

# Add a callback for the solo switch
server.addMsgHandler("/solo", handle_solo)

# Run the OSC server
st = threading.Thread(target=server.serve_forever)
st.start()